NAIL art design is big news right now. Some girls like to stick to sophisticated nudes and French manicures all year, but personally I find there is something about bright, creative and playful tips that are much more interesting.
Like most women I love getting my nails done as a treat and this year I started experimenting with some creative alternatives.
Not everyone can afford to treat themselves to manicures every two to three weeks, but there is no need to fret, I have put together some DIY nail art designs you can try out yourself at home.
It is pretty easy and will not pinch your pocket at all! It’s all about being creative and half the fun is playing around with your nail paints and creating unique designs in all hues available.
Just make sure that you have all the basic things that you will need and enjoy beautifying your nails together with your sister, mum or friends.
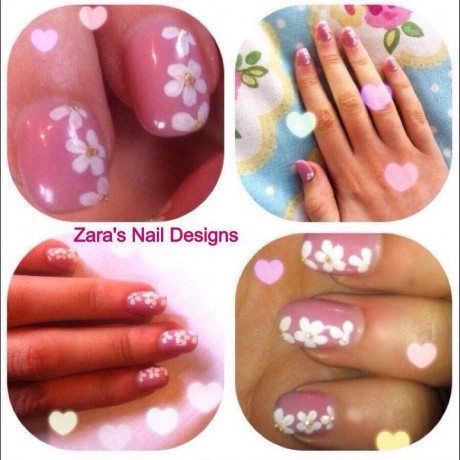
I have put together two very simple step by step DIY ideas, geometric and nautical designs to get you started, as well as featuring a range of creative nail design imagery to inspire you. Nail art is a fun, simple way to be creative and trust me it’s dangerously addictive
DIY GEOMETRIC DESIGN
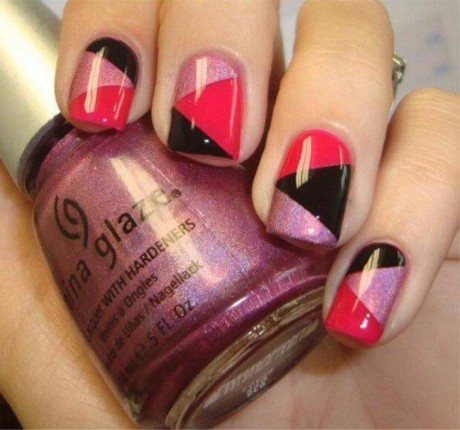
If you want to get perfectly geometric nail art design, you should involve something as simple as cut-up Scotch tape.
I love the simplicity of these designs and how you can customize them using different colors for different times of the year and outfits, like pastels for summer and darker colours for autumn/winter months. All you need is some nail polish and scotch tape
1. Cut up all your tape up before painting your nails.
2. After applying your basecoat and letting it dry, paint on your base color.
3. Then position the tape on your nail and apply the next color.
4. Remove the tape while the polish is still wet.
5. Remember to do one nail at a time!
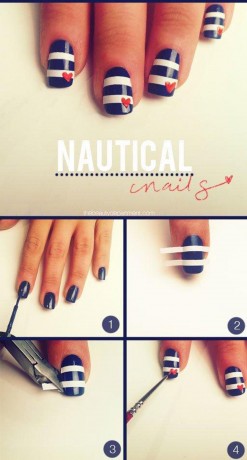
NAUTICAL NAILED
AHOY, friends!! I found a fun new way to do DIY NAUTICAL! I used the straight strips that came in french manicure kit to make our stripes!
This might be one of the easiest nail art manicures ever! Painting stripes can be a big challenge, but this is pretty simple…
1. Paint the base navy blue.
2. Next, apply the white strips from a French manicure set or alternatively use white nail polish.
3. Using small scissors or cuticle nippers, clip the strips as close to the edge of your nail as possible.
4. Use a thin paint brush to create small hearts on the nail wherever you want.
5. Last but not least, apply your top coat! My favourite is Sally Hansen’s Insta-Dri $4.04 because it dries SO fast. Enjoy your Monday everyone and happy painting!
Zara McDaid can be contacted on Facebook, search ‘Zara Mc Daid Art’, www.zaramcdaid-art.blogspot.ie or e-mail is zaramcdaid@hotmail.com
TWO local ladies are organising a ‘Fashion Swap’ in order to raise funds for a proposed Pieta House suicide...
EXPAT architect Pol Gallagher’s designs conjure up local pride.
AOIFE Coyle from Milford, in my opinion, is one to watch in the world of millinery. Aoife has always...


