


Whether you’re puncturing your pumpkin or gutting your gourd, as the old saying goes: There is more than one way to skin a cat.
The beauty of pumpkin carving for Halloween is that even the most cack-handed effort will look passable when the candle is illuminated and installed.
Picking a pumpkin and going at your design freehand is great fun, especially when the kids are involved. But learning how to carve a pumpkin and turning those orange gourds into works of art is essential for a terror-ific Halloween display.
Nowadays there are various pumpkin carving kits available, not to mention the stencils a carver can use to help create that vicious visage. But let’s not get too ahead of ourselves. Let’s start at the beginning and go through the different stages and steps to ensure your pumpkin display is as malevolent as the devil intended.
PICK UP A PUMPKIN
Whether purchasing in a shop or picking up from a pumpkin patch, the first key stage in selecting your pumpkin is choosing the right pumpkin, at the right time.
The first and arguably most important part of the process is picking a pumpkin in good condition. Think of it like this: A pumpkin is a fruit and so the fresher the fruit you buy, the better the end result will be when you carve and install your light.
Choose a pumpkin with a green stem – the greener the better. If the stem is completely gone or withered, your jack o lantern of choice isn’t going to last long.
TOOLS
Pumpkin carving kits come with a variety of little tools but most often, the best and most effective things to use, you’ll already have at home. A paring knife is great for the initial cuts – the sharper the knife, the easier the cuts — and to remove the gunk from your pumpkin’s inside, the best thing to use is an ice-cream scoop.
For the kids, the best thing to use for cutting into the pumpkins are the serrated saws which come in the pumpkin kits (safety first) but for the discerning artist, a filleting knife is best. Tools like lemon zesters and vegetable peelers are also great for design and a marker is a good for sketching out designs.
A large disposable tablecloth is also a good idea, to help save on the mess. And you’ll also need a big bowl (for the pumpkin guts) and the obligatory candles or LED lights.
PREPARATION
Ideally, you’ll carve your pumpkin outside or in a garage, but if it’s too cold and you have to work inside, just make sure you aren’t working on something like an antique table which might be easily stained.
Gather all the tools that you think you might need and then the first thing to do is NOT cut a hole in the top of the pumpkin around the stem. This is the first mistake many people make but in reality, cutting around the stem structurally weakens the pumpkin and causes it to degrade faster.
Instead, cut a hole in the back of the pumpkin, a hole big enough that you can reach inside and then retain the section that you remove so that it can be reattached later.
Scoop out all the stringy insides with the ice-cream scoop (and your hands) placing these into the bowl as you go (make sure it’s a BIG bowl). Make sure to remove every last string as any mess inside will also hasten the rot.
DO A DRY-RUN DESIGN
Sketch your pumpkin design on paper, then draw it onto your pumpkin using a washable marker. If you’re using more elaborate designs, use transfer paper to recreate your design directly on the pumpkin. If you’re using a stencil, tape the print-out directly over the pumpkin and carve through the paper.
THE FIRST CUT
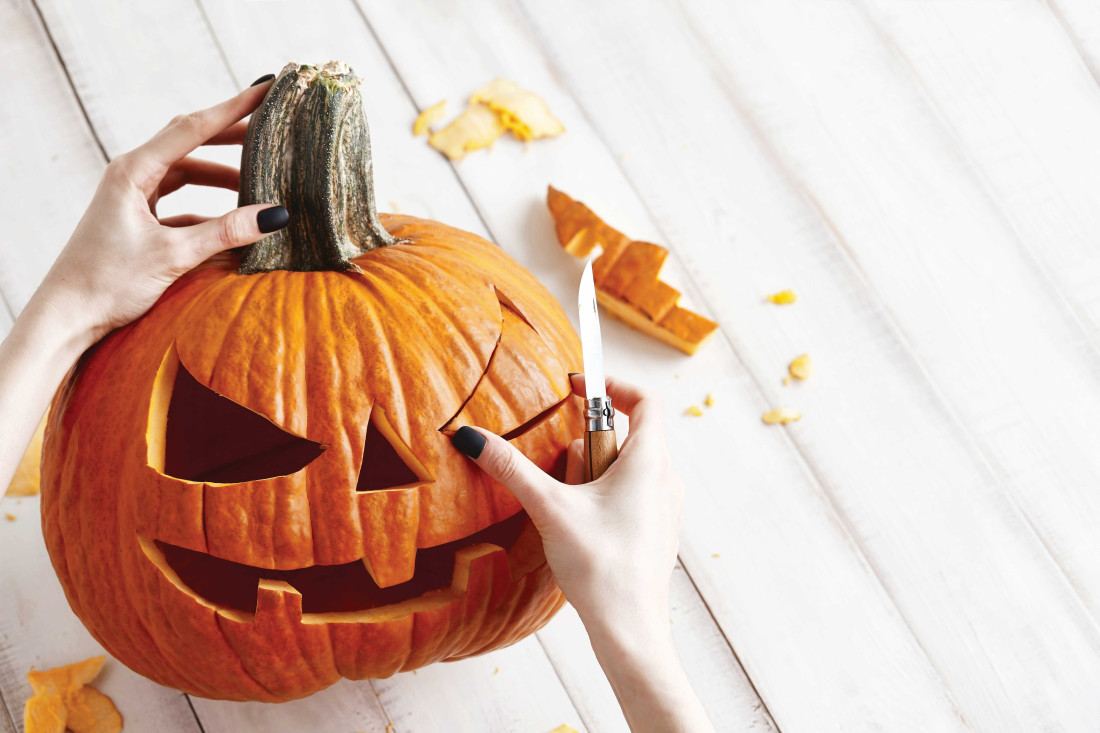
Using the paring knife, cut – very carefully – along your design, making sure the hand that’s stabilising the pumpkin is not in the path of the hand holding the knife. If, after a cut, a piece you’ve sliced doesn’t pop out, try pushing it in. You can always reach in the back door. Take your time with the design. Apart from illuminating the pumpkin at the end, this is the best part of the process.
PRESERVATION
When you’ve got your design the way you want it (or close enough), spray your pumpkin with a bathroom cleaner, or any detergent which contains some bleach. After spraying, let it evaporate for at least five minutes – ideally outside. This trick will have a twofold effect. It will stop the pumpkin from rotting too quickly and also, it will keep away any nibbling magpies or squirrels (if you’re planning on displaying the pumpkin outside).
LIGHT UP, LIGHT UP
If you have to have a candle, make sure to cut a small hole in the top of the pumpkin to let the smoke out. Otherwise, add in an LED light, switch the lights off, stand back and marvel at your wondrously wicked creation.
Receive quality journalism wherever you are, on any device. Keep up to date from the comfort of your own home with a digital subscription.
Any time | Any place | Anywhere
SUBSCRIBE TO CURRENT EDITION TODAY
and get access to our archive editions dating back to 2007(CLICK ON THE TITLE BELOW TO SUBSCRIBE)